Sketch Content
How to draw a rose in sketch? Roses are common flowers in our lives, and people often use roses to express love. Today, the introductory sketch tutorial prepared for everyone is to teach you how to draw a rose. Let's learn the simple steps of drawing a rose sketch.
Roses belong to the Rosaceae family and look very similar to Chinese roses, but there are still some differences. Roses come in many colors, including white roses, red roses, pink roses, etc. Let's first observe the picture we are going to copy to understand the appearance of roses, the relationship between light and dark, etc.

Rose sketch simple drawing steps:
Step 1: First observe the appearance of the rose, draw the general outline of the rose, and pay attention to the basic form of the object.

Step 2: Draw the inner contour of the rose. Don't make the lines too solid, as that will make the picture look dull.

Step 3: Erase unnecessary auxiliary lines and deeply depict the edge of the rose with clear lines.
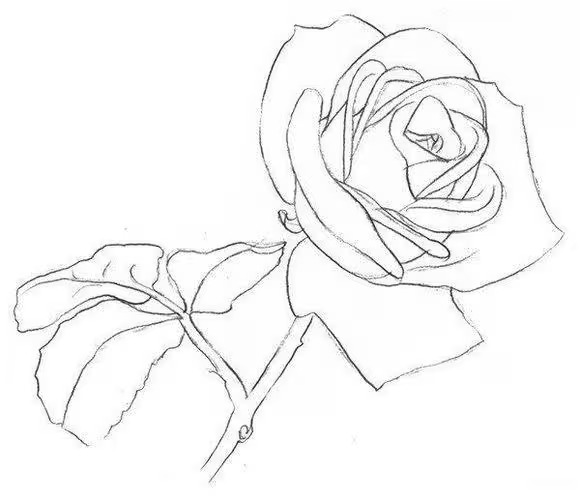
Step 4: Describe the overall relationship between light and dark of the rose to increase the three-dimensional effect of the picture.

Step 5: Draw the dark parts of the rose stem and leaves to add details to the rose.

Step 6: Continue to delve deeper into the leaves and stems of the rose, paying attention to depicting the highlights of the leaves.

Step 7: Adjust the overall color tone, darken the dark parts of the rose petals, and perfect the details of the rose.

Step 8: Overall adjustment. Pay attention to the relationship between the black, white and gray of the rose, and the rose is finished.

When sketching flowers, you need to pay attention to the shape of the flowers. To show the posture of the flowers, the outline is very important. Once the light and dark relationship is clear, you can express it with delicate lines. Please follow me for more introductory sketching tutorials!